

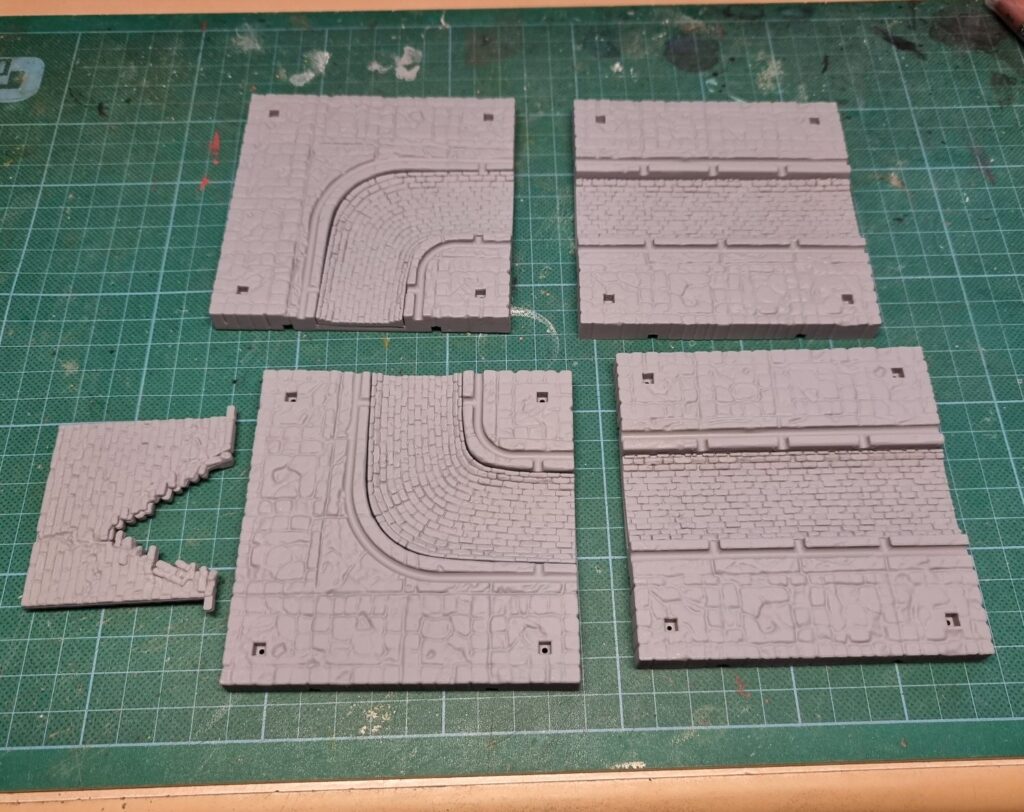
Hi folks, welcome to 2022! Hope you all had a good break from work and you are feeling refreshed 🙂 After a rest from it all I’m ready for the new year, so I thought I’d get around to a job I’ve put off for a while. I’ve had this scenery for over a year and I’ve been wanting to do a new stage-by-stage so here we go!
To start with as they are plastic pieces I like to clean them with soapy water and a brush to make sure there is no residue release agent on them. Once dry, I give them a grey primer coat this works well for the floor sections as they will be grey mainly anyway.
For my scenery I’d prefer not to use my expensive paints so I went to my local hardware shop (B&Q for those in the UK) and bought myself some cheap tester paints, these work well for what I need as you’ll see. The finishing touches like inks will be from my main painting kit just to tighten up the job.

For the broken wall, I put a base coat on followed by a rough dry brush of the next lighter colour in my selection, this was finished with a more controlled dry brush of the final high light. Once dry I used GW’s Nuln oil shade to get some contrast and dirty up the recesses. While that dries I’ll hit the floor sections.

The floor is much the same technique as the wall. I start off using the base coat grey then use the next lighter colours to dry brush the highlights on, don’t worry at this stage if it looks rough and ready, the ink washes will sth off the edges and build the dirty dungeon flooring look we are after. The brick-lined sewer floor is the same colour and process I used on the wall. This is now ready to ink wash.

I used Nuln oil again to dirty up the flooring and the sewer bricks, once dry (I sometimes use a hair dryer to quicken up this stage) I used green ink wash for the gutters and the centre of the sewer. Allowing this next stage to dry I mixed some of the Nuln oil into my green ink wash and applied that to the centre of the brick-lined sewer area just to make the green less vivid and give it that grungy filth look.

While I let the sewer ink dry I’ve gone back to the wall section and applied the green ink to the wall to imitate the slimy mouldy green you would expect in a dank and damp dungeon.

The final stage is to add any blood stains and a final dry brush of the lightest floor colour, this peps up the flooring and gives a harder edge after the inks toned it back. Once I’ve sprayed the scenery with matt varnish I brushed on a gloss varnish along the centre of the sewer and along the channels to make it look wet and slippery.

As the pieces are tiles they can fit in any kind of arrangement. I mostly use my scenery for photography to show off the Diehard Miniatures. The new pieces fit in well with those I painted a couple of years ago (thankfully I remembered the colours and inks I used last time).

Finally, I can show off the figures with some beautiful scenery! Painting time was roughly 4 hours and you can go through a lot of tiles in one go working between pieces as the previous dries. It feels really good to get this job finished and it’s one less thing on the ‘to-do’ list! 🙂 I hope this simple tutorial helps you get to grips with any dungeon pieces you have waiting to paint and gives you a few ideas or techniques you haven’t tried yet.
Tim Prow.


You may also like:
Latest Diehard KickStarter for 2023

Tim Prow has over 25 years of experience as a professional miniature sculptor. Starting out at Games Workshop as a miniature painter on the ‘Eavy Metal Team in the late ’80s. Tim has worked in house for both Ral Partha and Wizkids. Diehard Miniatures is his brainchild.